
Featured collection
-
-
$159.99 $141.99
-
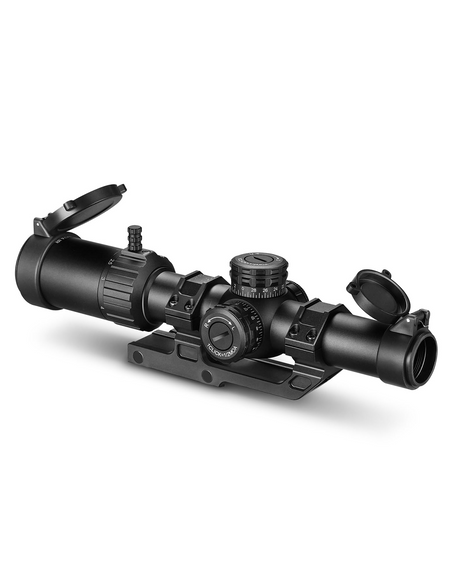
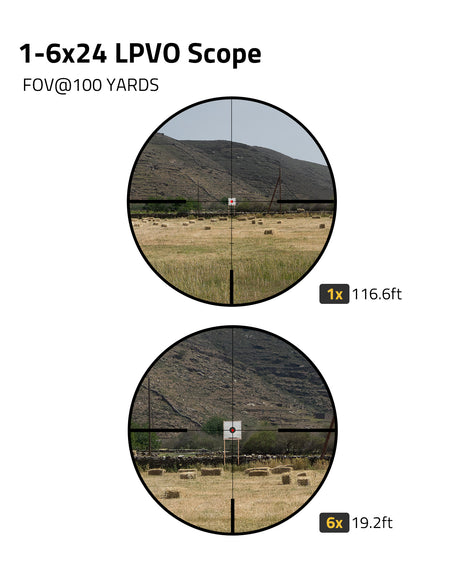
-
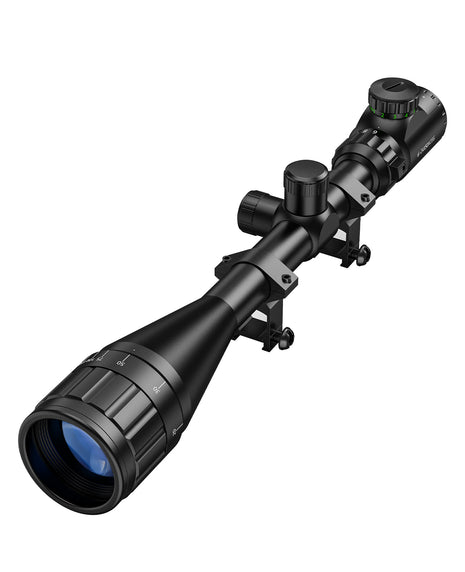
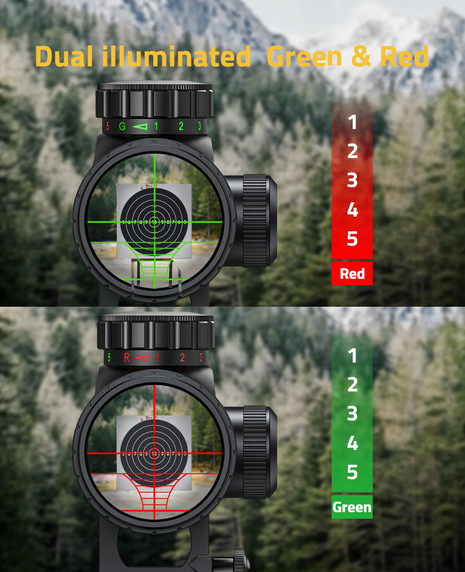
$70.19

¿El punto de impacto cambia en los visores de punto rojo o las miras telescópicas? Soluciona problemas de monturas sueltas, anillas demasiado apretadas, daños por retroceso y errores de instalación para estabilizar de forma fiable el ajuste de tu visor.
Nada arruina más rápido una visita al campo de tiro que descubrir que tu punto rojo o visor de rifle ha perdido el cero. Has dedicado tiempo a ajustar cuidadosamente el cero de tu óptica, pero el punto de impacto se desplaza después de disparar, transportar el arma o recibir pequeños golpes. Muchos tiradores asumen de inmediato que la óptica está defectuosa y se apresuran a solicitar una devolución.
La realidad es que la deriva permanente del cero causada por una óptica interna defectuosa es relativamente poco frecuente. La gran mayoría de los problemas de desplazamiento del cero se deben a técnicas de montaje incorrectas, incompatibilidad del hardware, tensiones mecánicas pasadas por alto y conceptos erróneos generalizados sobre la verificación mediante colimación.
En esta guía detallada de resolución de problemas, desglosamos las seis causas principales de la pérdida del cero, profundizamos en los principios mecánicos que hay detrás de cada problema, proporcionamos soluciones prácticas y explicamos cómo distinguir una deriva real del cero de los errores de alineación falsos causados por la colimación láser. Estos principios se aplican universalmente a puntos rojos réflex, puntos rojos cerrados, visores variables LPVO, anillas de montaje, bases para ópticas y placas de montaje con huella de óptica.
Los ajustes de par incorrectos encabezan la lista de fallos de retención del cero, y los tiradores caen en dos errores opuestos y peligrosos.
Cuando los tornillos de las anillas del visor no se aprietan según las especificaciones de par, queda una holgura microscópica entre el tubo de la óptica y la superficie de contacto de la anilla. El retroceso repetido genera una vibración constante. La óptica se desplaza lentamente, gira o se mueve horizontalmente dentro de las anillas. Tras varias series de disparos, el cero de deriva y elevación se desplaza gradualmente. Este problema empeora con calibres de mayor retroceso y sesiones de tiro prolongadas.
Muchos tiradores creen que «cuanto más apretado, más estable». Este es un error crítico. Una fuerza de sujeción excesiva comprime y deforma el tubo principal de la óptica. Dentro del visor o del punto rojo, las carcasas de las lentes, los conjuntos erector y las torretas de ajuste están alineados con precisión y con una holgura interna mínima. La deformación del tubo genera una tensión mecánica persistente en los componentes internos.
Aunque la óptica puede mantener el cero al principio, la vibración del retroceso libera gradualmente esta tensión acumulada. El conjunto óptico interno se desplaza, lo que provoca un movimiento repentino e impredecible del cero. En casos extremos, un apriete excesivo puede dañar permanentemente el tubo y anular la durabilidad del producto.
· Utiliza siempre una llave dinamométrica de precisión; nunca te fíes de un ajuste manual.
· Sigue estrictamente los valores de par de apriete del fabricante para los tornillos de los anillos y los elementos de fijación de la base.
· Aprieta los tornillos de los anillos siguiendo un patrón cruzado para distribuir la presión uniformemente por el tubo.
· Vuelve a comprobar el par de apriete después de la primera sesión en el campo de tiro, especialmente en configuraciones nuevas.
Los anillos de la óptica no pueden compensar una base débil. La base de montaje actúa como el puente esencial entre la óptica y el riel del arma de fuego. Innumerables problemas de ajuste se originan en este punto de conexión.
1. Elementos de fijación de la base flojos: la vibración afloja lentamente los tornillos de montaje que conectan la base con el riel Picatinny. Incluso un movimiento mínimo de la base desplaza directamente el ajuste.
2. Suciedad atrapada, virutas metálicas, residuos de carbono o rebabas entre la base y la superficie del riel. Estos contaminantes crean un contacto irregular. Con el retroceso, la base se balancea ligeramente y pierde la alineación.
3. Desajuste de la huella y asentamiento incompleto (un problema importante para los usuarios de puntos rojos) Los puntos rojos réflex utilizan huellas de montaje estandarizadas. Si la superficie de la placa tiene rebabas, o la óptica no está completamente asentada y bloqueada en el rebaje de la huella, se produce un pequeño desplazamiento lateral con cada disparo. Muchos tiradores no confirman visualmente el contacto completo antes de apretar los tornillos.
4. Bases de baja calidad con tolerancias de fabricación holgadas. Los soportes delgados y mal mecanizados se flexionan con el retroceso y no pueden mantener una posición constante.
· Limpia completamente las superficies del riel, la parte inferior de la base y las placas de la huella con un desengrasante antes de la instalación.
· Elimina las rebabas metálicas con una lima fina cuando sea necesario.
· Confirma que el punto rojo encaje completamente en la huella sin forzarlo.
· Aplica fijador de roscas de resistencia baja a los tornillos de montaje de la base en plataformas de alto retroceso (sigue las indicaciones de los componentes).

Cada óptica tiene una clasificación publicada de resistencia a los impactos, que indica cuánto retroceso, vibración e impactos puede soportar a largo plazo. Esta clasificación refleja la resistencia de las estructuras internas de soporte.
Las plataformas de retroceso suave generan una vibración leve y la mayoría de las ópticas mantienen el ajuste con fiabilidad. Los calibres de alta energía producen ondas de choque intensas y repetidas. Las ópticas económicas con estructuras internas ligeras carecen de sistemas de ajuste reforzados y mecanismos de bloqueo de las torretas. Después de cientos de disparos, la vibración sostenida desplaza gradualmente los componentes ópticos internos, lo que provoca una inestabilidad permanente del ajuste.
Otro descuido común: no adaptar la óptica a la plataforma. Una óptica diseñada para prácticas de tiro con poco retroceso no puede soportar un retroceso fuerte repetido. Aunque mantenga el cero inicialmente, con el tiempo aparecerá una migración gradual de los componentes.
· Compruebe la especificación de resistencia a los impactos antes de montar ópticas en armas de fuego potentes.
· Para aplicaciones de alto retroceso, seleccione ópticas fabricadas con chasis internos reforzados.
· Si observa que el cero se desvía lentamente después de cientos de disparos sin fallos de montaje, es probable que la causa principal sea la fatiga por impactos.
Esta causa silenciosa de la deriva del cero suele ser ignorada por los tiradores ocasionales. Un error habitual de instalación: los tiradores fijan aproximadamente las anillas del visor y luego giran el cuerpo de la óptica para nivelar la retícula. Esto deja una tensión torsional considerable acumulada en el tubo de la óptica. El tubo se ve forzado a adoptar una posición torcida mientras está sujeto por anillas rígidas.
La vibración del retroceso actúa como un mecanismo de liberación. Con el tiempo, la óptica gira ligeramente para liberar la tensión acumulada. Cuando esto ocurre, el cero tanto en deriva como en elevación cambia simultáneamente. El cambio suele aparecer entre visitas distintas al campo de tiro, en lugar de durante una misma sesión de disparo, lo que dificulta su diagnóstico.
1. Fije sin apretar todas las mitades de las anillas del visor al riel.
2. Coloque la óptica dentro de las anillas y ajústela hasta lograr la posición ideal de alivio ocular.
3. Nivele la retícula antes de comenzar a aplicar el par de apriete final.
4. Apriete gradualmente los tornillos en secuencia; evite girar la óptica una vez que las anillas comiencen a sujetarla.
El desplazamiento del cero puede ocurrir sin disparar un solo tiro. Las ópticas están diseñadas para absorber las vibraciones previsibles del retroceso, pero los impactos bruscos y repentinos generan vectores de fuerza diferentes que alteran la alineación interna.
· Golpear el cañón o la óptica contra árboles, paredes o el interior de vehículos durante el transporte
· Dejar caer descuidadamente el arma de fuego dentro de su estuche
· Colocar equipo pesado directamente encima del estuche del rifle
Los conjuntos de lentes internos y los mecanismos de las torretas están calibrados con precisión. Los golpes fuertes pueden desplazar estos componentes al instante. El cero puede mantenerse estable durante algunos disparos después del impacto y luego empezar a desviarse cuando los componentes se asientan.
· Use cubiertas acolchadas para la óptica y estuches rígidos protectores para el transporte.
· Evite sacudir las armas de fuego durante el transporte; separe las ópticas de las superficies duras.
· Inspeccione siempre el cero si su arma de fuego recibe algún impacto fuerte perceptible.
Este error confunde a miles de tiradores novatos y provoca el reemplazo innecesario de componentes. Muchas personas utilizan un colimador láser para comprobar rápidamente si su óptica mantiene el cero. Si la alineación del punto láser parece diferente cada vez que vuelven a insertar la herramienta, concluyen de inmediato que la óptica se ha desplazado. Esta lógica es errónea.
La precisión de un colimador láser depende por completo de un ajuste concéntrico dentro del cañón. Fuentes habituales del desplazamiento del láser:
· Seleccionar un adaptador con una numeración incorrecta, lo que crea holgura radial dentro del ánima
· Carbonilla en la boca del cañón o suciedad que impide insertar completamente el adaptador
· Inclinar la varilla del colimador al introducirla en el cañón
· Holgura de fabricación mínima entre el adaptador y el diámetro del cañón
Todos estos problemas desvían el haz láser del centro y crean la ilusión de un cambio del cero. La óptica no se ha movido en absoluto.
Cómo confirmar un desplazamiento real del cero La colimación láser solo sirve como herramienta de precero. El único método de verificación fiable es realizar una agrupación con fuego real a una distancia fija. Si los grupos de disparos permanecen centrados en el blanco, el cero se mantiene: ignora la alineación inconsistente del láser del colimador.

Cuando detectes un desplazamiento del punto de impacto, sigue esta secuencia para localizar el problema:
1. Inspecciona visualmente todos los tornillos de la base de la óptica y de las anillas del visor para detectar si están flojos.
2. Desmonta los herrajes de montaje; limpia todas las superficies de contacto para eliminar arenilla y rebabas.
3. Vuelve a instalarla con una llave dinamométrica, siguiendo las especificaciones oficiales de par de apriete.
4. Verifica que no haya tensión torsional: asegúrate de que la óptica estuviera nivelada antes de apretarla por completo.
5. Recuerda si el arma sufrió algún golpe fuerte durante el transporte o el uso en el campo.
6. Completa una prueba de agrupación con fuego real para descartar un desplazamiento falso causado por la inconsistencia de la alineación del colimador.
La retención constante del cero se basa en una disciplina de montaje adecuada, no simplemente en utilizar ópticas costosas. Aunque las ópticas de alta gama ofrecen una mayor estabilidad interna, la mayoría de las quejas sobre cambios del cero se deben a errores evitables del usuario.
Un par de apriete incorrecto en las anillas, bases de montaje inestables, tensiones torsionales acumuladas y golpes físicos explican casi todos los casos de desplazamiento. Igual de importante es aprender a distinguir un cambio real del cero de los errores de alineación falsos generados por adaptadores de colimador láser mal ajustados.
Ya sea que utilices miras réflex de punto rojo compactas, miras de punto rojo cerradas o visores LPVO de potencia variable, unas prácticas de instalación estandarizadas y cuidadosas reducirán drásticamente los cambios inesperados del punto de impacto y ahorrarán munición en el campo de tiro.
$159.99 $141.99
$70.19


