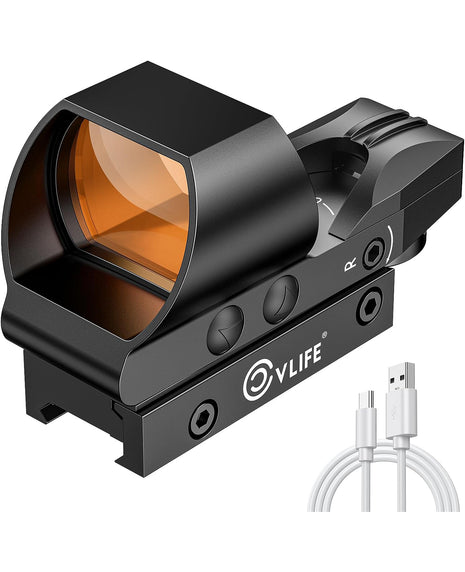
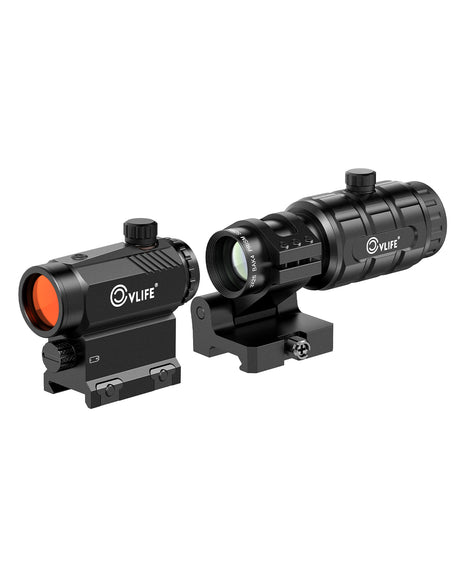
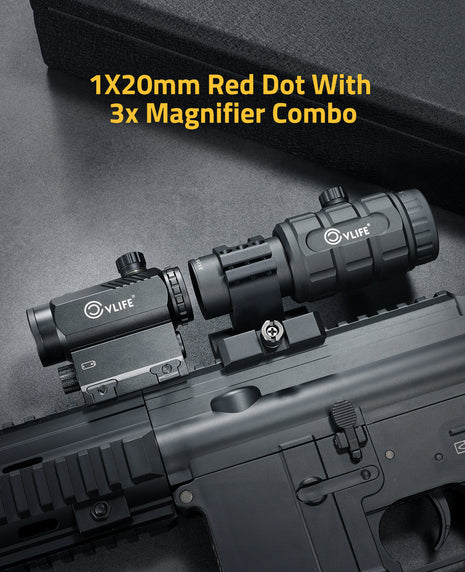
Zeroing a red dot at 25 yards takes about 20 minutes and 20-30 rounds of ammunition on a stable rest. The process works the same for an AR-15 carbine, a full-size handgun, or a tactical shotgun with a red-dot rib. This guide covers the eight-step method, the MOA click math, and the common zeroing errors that waste ammunition.
Materials needed
- Red dot sight already mounted on the rifle
- 30 rounds of the ammunition you plan to use most (a 5.56 AR-15 should be zeroed with 5.56, not .223)
- Target with a 1-inch center aiming point (shoot-and-see targets make group measurement easy)
- Sturdy rest: bench, sandbags, or a bipod. The Gunsmith Academy guide emphasizes stability over shooter skill for the initial zero
- Torque driver for ring screws (15-18 in-lb for scope rings, 30-35 in-lb for clamp mounts)
- Bore sighter (laser or magnetic) — optional but recommended for saving ammunition
- Ear and eye protection
How long does this take, and what's the math?
For a properly mounted red dot with bore sighting, expect 15-25 minutes and 20-30 rounds. Without bore sighting, plan 30-45 minutes and 40-50 rounds.
The math is the part that confuses new shooters. The formula is:
= 0.5 inch @ 50 yards
= 0.25 inch @ 25 yards
Clicks = (offset in inches) ÷ (0.25 × MOA per click ÷ MOA unit)
For most red dots: 1 click = 1 MOA, so at 25 yards: clicks = (offset in inches) ÷ 0.25
Example: A 3-shot group lands 2 inches low and 1 inch right of the aim point at 25 yards. The required correction is approximately 8 MOA up (8 clicks) and 4 MOA left (4 clicks). Adjust the optic according to the manufacturer’s adjustment markings to move the point of impact up and left.
Step-by-step zeroing procedure
- Verify the optic mount is level and torqued. Place a small bubble level on the optic's top strap and on the rifle's rail. If the bubble runs sideways, shim the mount or rotate the optic. Torque the mount to 30-35 in-lb with medium thread locker. Loose mounts cause zero shift on every recoil impulse. This is the single most common cause of "the red dot keeps drifting."
- Optional: bore sight the optic. Insert a laser or magnetic bore sighter into the barrel. Switch the red dot on and rotate the optic until the reticle aligns with the bore sighter's laser. Bore sighting at home saves 5-10 rounds at the range and gets you on paper at 25 yards. Without a bore sighter, plan to start at 10 yards instead of 25.
- Set up at exactly 25 yards. Place the target with a 1-inch center aiming point at exactly 25 yards. Confirm the distance with a range finder or a steel tape measure — pacing errors at the wrong yardage throw off all subsequent click math.
- Fire a 3-shot group at the center. Aim at the exact center of the target every time. Do not adjust between shots. Do not chase single fliers. The center of the 3-shot group is where the rifle is actually printing.
- Measure the offset between group center and aim point. Walk downrange and measure in inches. A group landing 2 inches low and 1 inch right of aim point means the bullet is printing below and to the right of the red dot center.
- Calculate the MOA clicks and adjust. At 25 yards, 1 inch = 4 MOA. So 2 inches low = 8 MOA up; 1 inch right = 4 MOA left. On a 1-MOA-per-click red dot, dial up 8 clicks on the top turret and dial right-to-left 4 clicks on the side turret. The arrows on the turret indicate impact direction — verify before turning.
- Fire a confirmation group. Repeat the 3-shot group at the same aim point. The new group center should be closer to the target's center. If still off, repeat the calculation with the smaller remaining offset. Do not over-rotate the turrets — small, calculated adjustments beat big guesses.
- Optional: verify at 50 yards. A 25-yard zero is sufficient for AR-15 home-defense use out to about 100 yards. For hunting or 200+ yard use, fire a 3-shot confirmation group at 50 yards. A 25-yard zero prints within 2 inches of point-of-aim at 50 yards on most 5.56 rifles with common bullets.
Common zeroing mistakes
Five mistakes waste the most ammunition and frustrate new shooters:
- Chasing the flier instead of the group. One round that lands 6 inches off is rarely an optic error. Fire three rounds and look at the center of the group, not the worst round.
- Skipping the level check. A scope mounted canted left or right pulls the bullet impact sideways regardless of windage adjustments. Verify with a bubble level before firing.
- Using the wrong ammunition. A .223 bullet and a 5.56 bullet do not print the same point of impact, even from the same barrel. Zero with the ammunition you plan to use most.
- Misreading the turret arrows. Most red dot arrows indicate impact direction, not dial direction. An UP arrow means impacts go UP when you turn that direction. Verify with the optic's manual before adjusting.
- Stopping after one group. The first 3-shot group is a starting point, not a final zero. Always fire a confirmation group after adjustment.
Post-zero checklist
- ✓ Mark the optic body with paint pen or tape aligned to the rail so you can spot-mount-movement later
- ✓ Record the click count for elevation and windage so you can return to zero if needed
- ✓ Replace the optic battery now — a fresh battery at zero prevents a dead-dot surprise later
- ✓ Lock the turret caps if your optic has them
- ✓ Repeat the zero verification in 6 months or after any hard impact (drop, recoil test)
When does a 25-yard zero make sense — and when does it not?
A 25-yard zero is the right answer for AR-15 home defense and close-range carbine work. For other roles, other zeros are better:
- Home defense and CQB (0-50 yards) — 25-yard zero.
- Hunting deer-size game (50-200 yards) — 50-yard zero is the standard. A 25-yard zero prints about 2-3 inches high at 100 yards on a 5.56 AR.
- Long-range precision — 100-yard or 200-yard zero, depending on the cartridge. Rifle-specific, not covered here.
- Handgun carry — 10-yard or 15-yard zero, depending on carry position. 25 yards is too far for typical defensive handgun use.
The 25/50 zero (25-yard zero, 50-yard confirmation) covers the broadest practical use case for AR-15 carbines.
Frequently Asked Questions
How long does it take to zero a red dot at 25 yards?
For an experienced shooter with the optic already mounted, zeroing takes 15-25 minutes and 20-30 rounds of ammunition.
How many rounds does zeroing a red dot take?
Plan for 20-30 rounds. A typical zero uses 3-5 rounds for the initial group, then 3-5 rounds per adjustment cycle, plus 3-5 rounds for the confirmation group.
Can you zero a red dot without a bore sighter?
Yes. Start at 10 yards instead of 25, fire three rounds to get on paper, then walk the rifle out to 25 yards for the final zero.